

In 2014 Harry Wells (known as Aldwarke on deviantArt) and I completed our third and certainly most ambitious WellSnazzie collaboration to date.
The idea started off initially as a diptych, and evolved into a triptych based on the W.B. Yeats poem “The Song Of Wandering Aengus”. A triptych is a work of art (usually a panel paintings) that is divided into three sections respectively, which are hinged together and can be folded shut or displayed open.
The project went on continuously for three to four months, with the aim of having it completed in time for the Winterton Agricultural Show on  5th/6th July 2014. We just got it finished the day before the show, and were delighted to find that it had won first place in the “Miscellaneous Crafts” category. 5th/6th July 2014. We just got it finished the day before the show, and were delighted to find that it had won first place in the “Miscellaneous Crafts” category.
Here’s an account of Harry’s experience of the collaboration process:
International Collaboration on Deviant Art
Earlier this year I shared a wonderful collaborative experience with DA member Snazzie-Designz (from here on referred to as Snazzie). Together we made a wooden box to contain runes made by Snazzie. I made the basic box which was then decorated by Snazzie to show my name in the Runic script together with my birth sign.
We originally ‘met’ through the pages of Deviant Art and continued much of the design correspondence through this channel and later by email. At times it was necessary to send parts backwards and forwards, Ireland to England. Thanks to DA a wonderful partnership developed. Flushed by this success we decided to do a more ambitious project which Snazzie has submitted to DA.
http://aldwarke.deviantart.com/journal/Collaboration-Reflections-442697462
We came up with what we considered to be the ultimate in international collaboration, Snazzie is Irish living in Ireland. I am half Irish/English living in England, so who better to commemorate in our triptych than W.B. Yeats, the Anglo-Irish poet. We chose his mystical poem ‘Song of the Wandering Aengus’.
We co-operated on the triptych for over three months by email and parcel post as various bits and pieces again went back on forth. At one time I began to think that the piece spent more time on the Irish Sea than on land. Eventually it was necessary for Snazzie to come and stay with me for a week in order to get it into shape.
I don’t like deadlines but I was vain enough to want to enter it into a big craft show in England. We finished it in my workshop the night before the show. It was an inspiring though perhaps tiring process at times but from it I learned a great deal from Snazzie about design, patience and personal application to a task.
It was part of my pleasure to see Snazzie working under guidance, with feminine panache, on woodworking machines. Working on a pencil box for herself she used the router table, saw table, planer and had an interesting experience with a Japanese pull-saw – not the slightest sign of blood either.
—– End of Harry’s Commentary —–

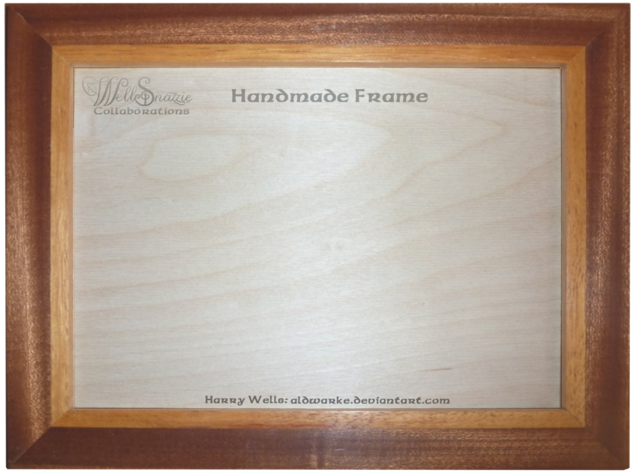
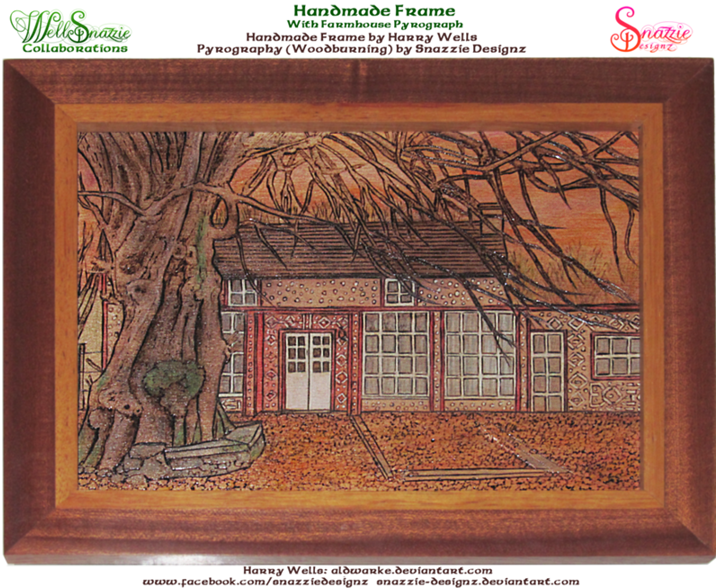
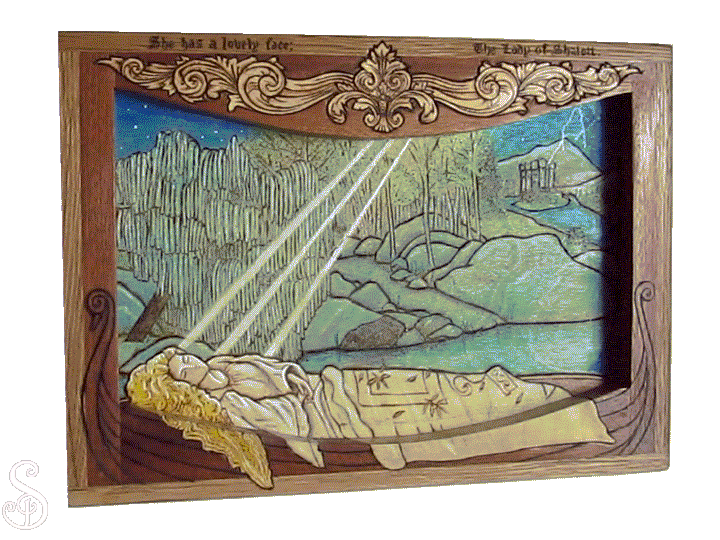
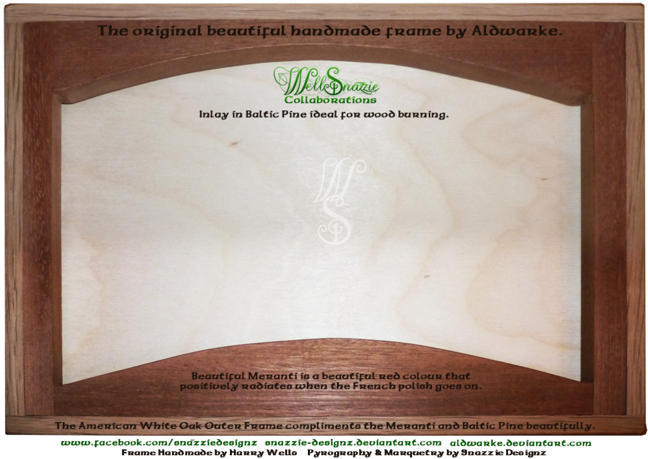
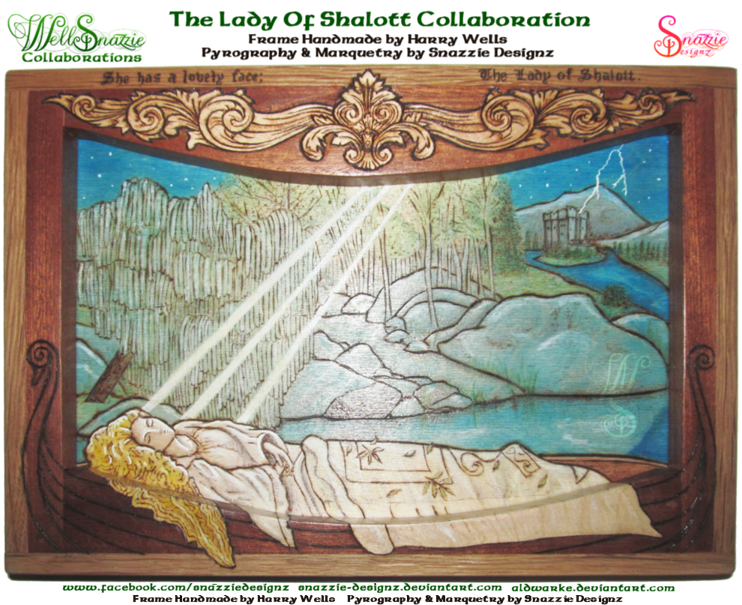
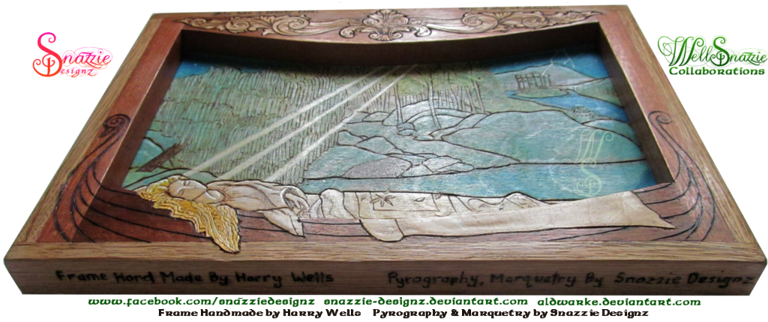
The triptych frame was designed, and hand-made by Harry, including coming up with the innovative idea of sandwiching layers of smooth plywood to a hardwood core to allow for two perfect burning surfaces, front and back, with a strong core to allow the frame to stand upright. When the triptych frame arrived over the Irish Sea to me it was in a self-assembly kit form, and I was astounded at the absolute precision, and alignment of the frames, and the perfectly smooth and clean surfaces I was given to work with. I knew I had my work cut out for me to keep my end of the bargain up.
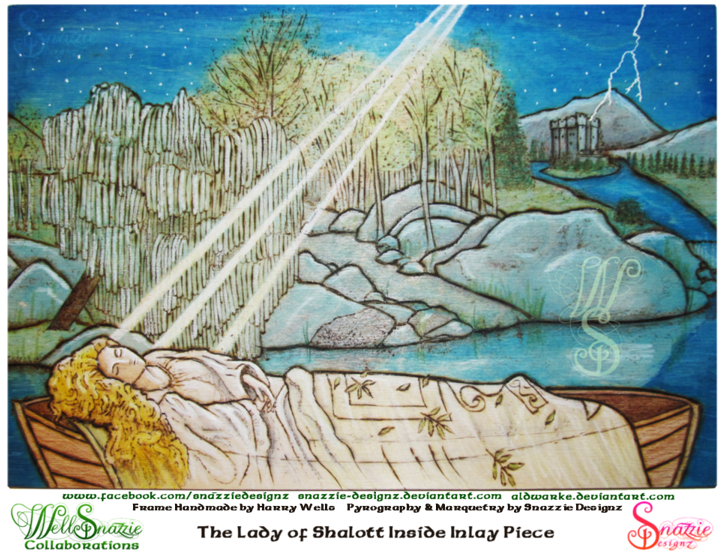
All of the parts were burned separately. The outside edges of the frames have a hand-burned chequered pattern which took 3 weeks to do. The link between each of the verses is blossoms and fruits of trees, so each frame has similar knotwork, but with fruit corresponding to the verse. The panels themselves contain original artwork corresponding to the verses.
When the pieces were burned and ready for finishing and assembly I was delighted to have the opportunity to visit Harry the week before the show, and it was even more of a delight to work with him in person than it has been to collaborate over emails. I am eternally grateful for having been made to feel so welcome by both Harry and Pam (a prodigious artisan herself) who opened their home wholeheartedly to this unknown stranger, so much so that I felt right at home there.
People often underestimate the skill involved in the finishing process, and many of my earlier projects have been destroyed by using the wrong products to finish it, or using them incorrectly. Harry has vast experience of these techniques, and deftly and perfectly finished all of the pieces. The sign of a true master is someone who makes it look easy.
Finally it was ready for assembly. Harry had chosen the perfect hinges to match the chequered pattern on the frame edges, and it took the two of us to balance the piece and accurately mount the hinges. When it was complete we both just stared at it from all angles for about fifteen minutes with a sense of disbelief. The piece suddenly made sense, all unified into completeness, and has now become more than the sum of its parts.
In the days after the show, we had some time to spare, so Harry was kind enough to show me how to make my very own box; a first for me. There were quite a few “firsts” for me in that process; the first time using a router, the first time using a band saw, the first time using a plane, the first time using a circular bladed table saw to name but a few. All of these machines seemed fairly daunting monstrosities, but with Harry’s excellent guidance, encouragement and blind faith, I managed to use them and even started to get the hang of one or two of them by the end of the day. There wasn’t even one instance of him cowering in a corner in terror whilst watching this newbie work with his valued machinery, which I thought showed true grit! I now have a beautiful pencil box as an eternal keepsake of this wonderful journey, and look forward to the next WellSnazzie collaboration with excitement.
If you want more information on HOW THIS WAS MADE seeing work in progress pictures, and sample pieces the burning and construction process,that didn’t make it to the final piece, click here.

|

 Apr.21,2019


 Tags :


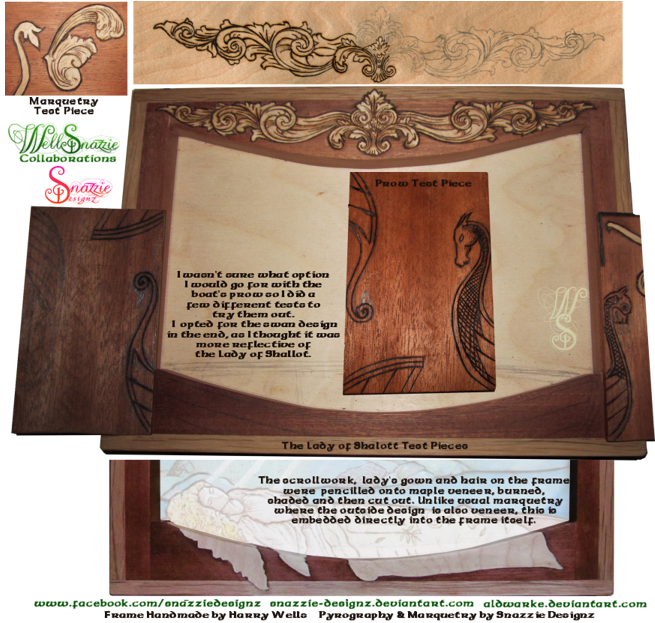


 knotwork of the frames so test designs for burning the tiny width of the inside frames I came up with some interesting ideas, that in the end turned out to be unnecessary due to a re-design of the trees.


